이제 kotlin을 통해 본격적으로 앱 개발을 시작해볼 텐데요
가장 처음으로 생성할 것은 로그인 페이지를 만들고 가장 마지막 구현 포스팅 때 php와 MySQL을 만들어 회원정보를 담아보겠습니다.
SQLite를 사용하지 않는 이유는 SQLite는 채팅 메시지라던가 소모성이 강한 데이터에 적합하다고 해서입니다.
회원 정보는 민감할 수 있기 때문에 PHP와 MySQL을 이용하는 것이 좀 더 정공법이지 않나 생각합니다.
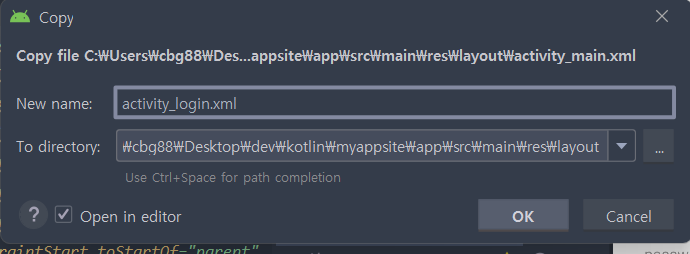
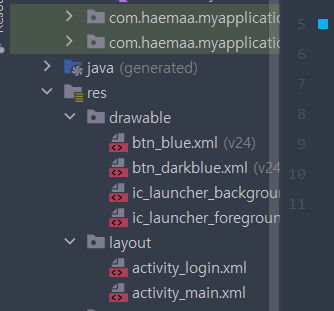
activity_login.xml 파일을 새로 만들어줍니다.
만드는 위치는 res폴더에 layout 폴더에 생성해줍니다.
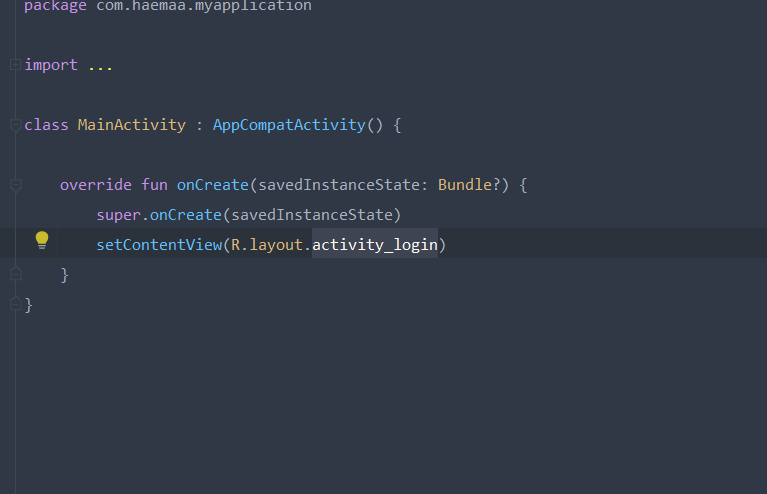
MainActivity.kt로 와서 setContentView의 괄호 안의 값을 activity_login으로 바꿔줍니다.
이렇게 되면 가장 처음 마주하게 되는 페이지가 activity_login으로 설정되게 됩니다.
Activity_login.xml
<LinearLayout
        android:layout_width="match_parent"
        android:layout_height="match_parent"
        android:orientation="vertical"
        >
        <TextView
            android:layout_width="match_parent"
            android:layout_height="wrap_content"
            android:gravity="center"
            android:text="LOGIN"/>

        <ImageView
            android:layout_width="wrap_content"
            android:layout_height="wrap_content"

            />
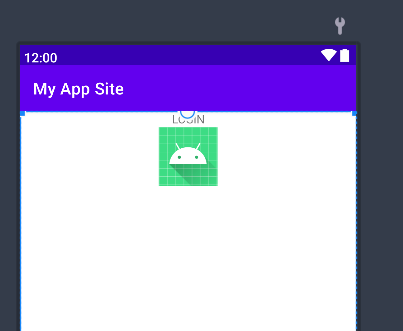
이렇게 TextView와 ImageView 두개를 배치하고 나면 이런 상태까지 될 겁니다.
근데 아직 ImageView에 src 속성을넣어주지 않아 아무 Image도 뜨지 않는 상황입니다.

background에는 @null 값을 넣어주고 src를 넣고 따옴표 안에서 ctrl+enter를 치면 원하는 이미지를 선택할 수 있는 탭이 뜹니다.

되게 많이 있네요
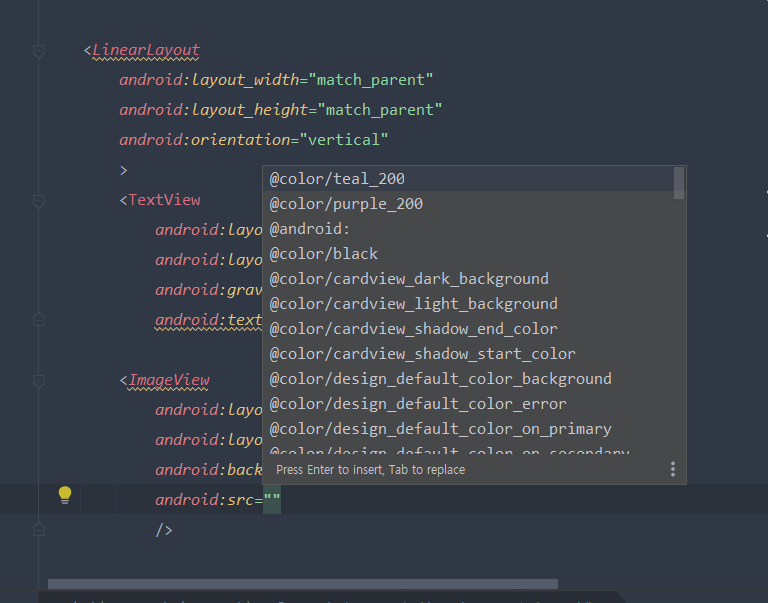
밑으로 쭉 내려서 ic_launcher 를 선택해줍시다.
깔끔한 정렬을 위해 gravity도 center 로 줍니다.

귀여운 것 같습니다.
이제 차례차례 EditView 2개와 버튼 두 개 그 다음 TextView를 3개 추가해줍니다.
배치는 다음과 같습니다.
<?xml version="1.0" encoding="utf-8"?>
<androidx.constraintlayout.widget.ConstraintLayout xmlns:android="http://schemas.android.com/apk/res/android"
xmlns:app="http://schemas.android.com/apk/res-auto"
xmlns:tools="http://schemas.android.com/tools"
android:layout_width="match_parent"
android:layout_height="match_parent"
tools:context=".MainActivity">
<LinearLayout
android:layout_width="match_parent"
android:layout_height="match_parent"
android:orientation="vertical"
>
<TextView
android:layout_width="match_parent"
android:layout_height="wrap_content"
android:gravity="center"
android:textSize="48dp"
android:textColor="@android:color/holo_blue_dark"
android:text="LOGIN"/>
<ImageView
android:layout_width="match_parent"
android:layout_height="wrap_content"
android:background="@null"
android:src="@mipmap/ic_launcher"
android:gravity="center"
/>
<EditText
android:layout_width="match_parent"
android:layout_height="50dp"
android:hint="ID"
/>
<EditText
android:layout_width="match_parent"
android:layout_height="50dp"
android:hint="password"
/>
<Button
android:layout_width="match_parent"
android:layout_height="50dp"
android:text="로그인"/>
<TextView
android:layout_width="match_parent"
android:layout_height="wrap_content"
android:gravity="center"
android:text="or"/>
<Button
android:layout_width="match_parent"
android:layout_height="50dp"
android:text="구글로 로그인"/>
<LinearLayout
android:layout_width="match_parent"
android:layout_height="wrap_content"
android:orientation="horizontal"
android:weightSum="10"
>
<TextView
android:layout_width="wrap_content"
android:layout_height="wrap_content"
android:gravity="center"
android:textColor="@android:color/holo_orange_dark"
android:layout_weight="5"
android:text="비밀번호 찾기"/>
<TextView
android:layout_width="wrap_content"
android:layout_height="wrap_content"
android:gravity="center"
android:textColor="@android:color/holo_blue_dark"
android:layout_weight="5"
android:text="회원가입하기"/>
</LinearLayout>
</LinearLayout>
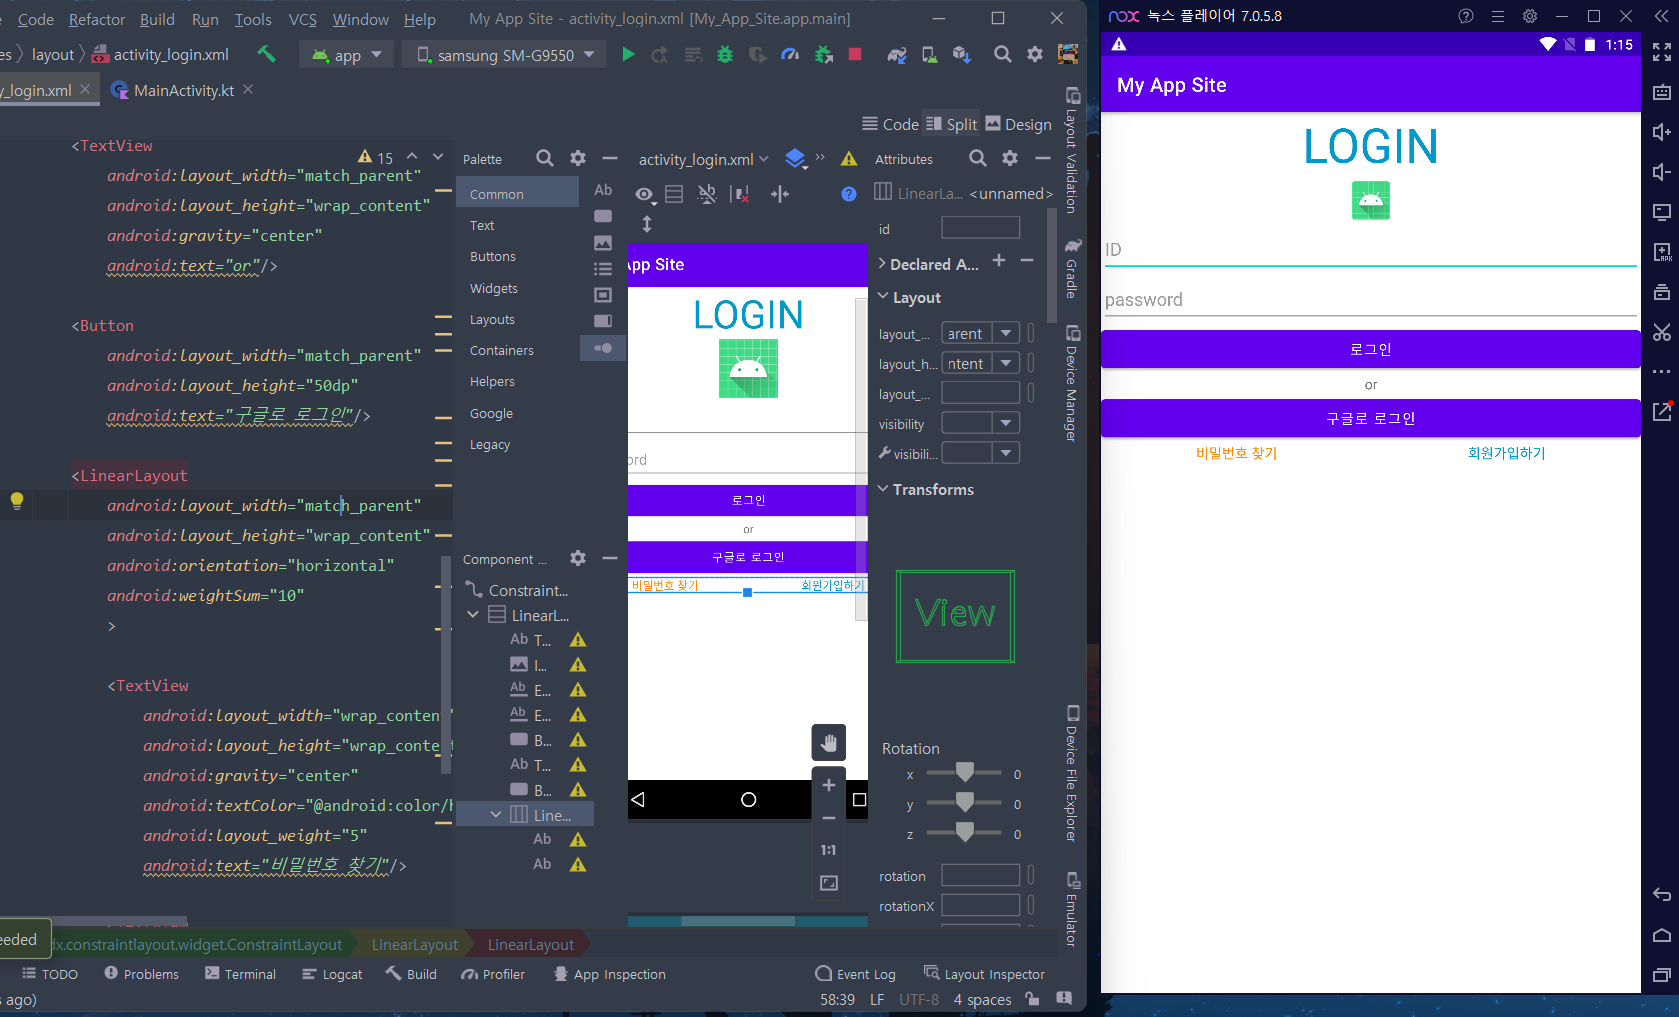
</androidx.constraintlayout.widget.ConstraintLayout>투박하긴 하지만 기능은 다 들어간 로그인 페이지가 완성되었습니다

이걸 Nox를 띄워 핸드폰 환경에서 봤더니 위에 살짝 쏠려 있지만 폭 비율이 깔끔하게 적용되어있습니다.
버튼 색을 변경해 보겠습니다.
drawable에 btn_blue.xml과 btn_darkblue.xml 파일을 만들어줍니다.
아래 코드는 버튼 모양과 색깔을 변경해주는 코드입니다.
버튼의 모서리를 둥글게 하고 색깔을 변경해줍니다.
btn_blue.xml
<?xml version="1.0" encoding="utf-8"?>
<selector xmlns:android="http://schemas.android.com/apk/res/android">
    <item android:state_enabled="true">
        <shape>
            <solid android:color="#00b2ed">
            </solid>
            <corners android:radius="20dp">
            </corners>
        </shape>
    </item>
</selector>
btn_darkblue.xml
<?xml version="1.0" encoding="utf-8"?>
<selector xmlns:android="http://schemas.android.com/apk/res/android">
    <item android:state_enabled="true">
        <shape>
            <solid android:color="#2C72BC">
            </solid>
            <corners android:radius="20dp">
            </corners>
        </shape>
    </item>
</selector>
전체적으로 위로 쏠린 걸 해결하기 위해 가장 상단의 LinearLayout에 gravity:"center" 값을 줍니다.
  <LinearLayout
        android:layout_width="match_parent"
        android:layout_height="match_parent"
        android:orientation="vertical"
        android:gravity="center"
        tools:layout_editor_absoluteX="0dp"
        tools:layout_editor_absoluteY="0dp">
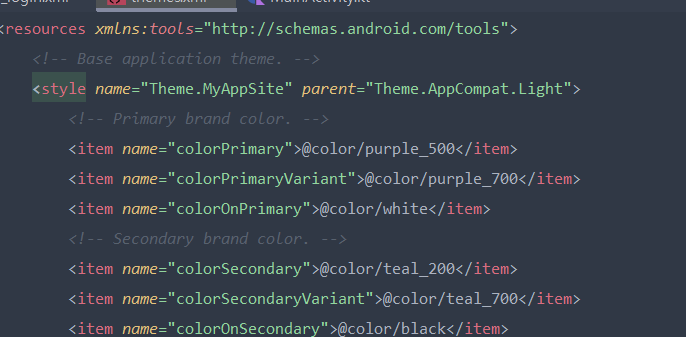
그런데 res의 drawable 폴더에서 xml 색상 값을 변경해 줬는데도 변경이 안되었습니다.
구글링을 해보니, 테마 파일로 이동하여, 세번째 라인의 parent 값을 "Theme.AppCompat.Light" 로 변경하여주면 정상적으로 변경된 값이 들어간 것을 확인할 수 있습니다.
Nox에서 확인해 보니 나쁘지 않습니다!!
match_parent 때문에 화면 폭에 따악 맞는 답답한 감이 있긴 하지만 padding을 주면 고쳐질겁니다.

이제 입력 버튼을 좀 더 세련되게 꾸며보겠습니다.
activity_login.xml로 돌아와서 원하는 위치에 <Input 까지 쳐보면 자동완성으로 TextInputEditText, TextInputLayout이 뜹니다.
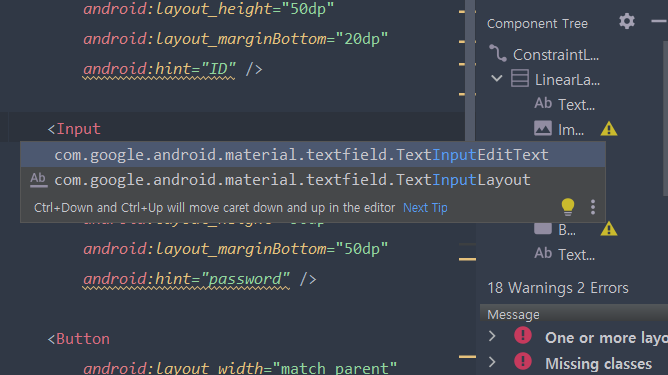
처음으로 TextInputLayout을 눌러주고 감싸줍니다.
이제 이 레이아웃 위에 EditText를 올릴 겁니다.
폭은 전부 match_parent,
height는 TextInputLayout에는 wrap_content,
TextInputEditText에는 50dp를 줍니다.
코드는 아래와 같고 hint에 ID라고 적어줍니다.
<com.google.android.material.textfield.TextInputLayout
            android:layout_width="match_parent"
            android:layout_height="wrap_content">
            <com.google.android.material.textfield.TextInputEditText
                android:layout_width="match_parent"
                android:layout_height="50dp"
                android:hint="ID"/>
        </com.google.android.material.textfield.TextInputLayout>
이걸 한개 복붙해서 password 칸도 만들어줍니다. 그 후, 아까 설정한 적정한 마진값도 그대로 설정해줍니다.
<com.google.android.material.textfield.TextInputLayout
            android:layout_width="match_parent"
            android:layout_height="wrap_content">
            <com.google.android.material.textfield.TextInputEditText
                android:layout_width="match_parent"
                android:layout_height="50dp"
                android:layout_marginBottom="20dp"
                android:hint="ID"/>
        </com.google.android.material.textfield.TextInputLayout>

        <com.google.android.material.textfield.TextInputLayout
            android:layout_width="match_parent"
            android:layout_height="wrap_content">
            <com.google.android.material.textfield.TextInputEditText
                android:layout_width="match_parent"
                android:layout_height="50dp"
                android:layout_marginBottom="50dp"
                android:hint="password"/>
        </com.google.android.material.textfield.TextInputLayout>
화면으로는 이렇습니다. ID 칸을 보면 아까 EditText와 같아보이지만 커서가 있는 password는 hint가 위로 올라와있는 것을 볼 수 있습니다.
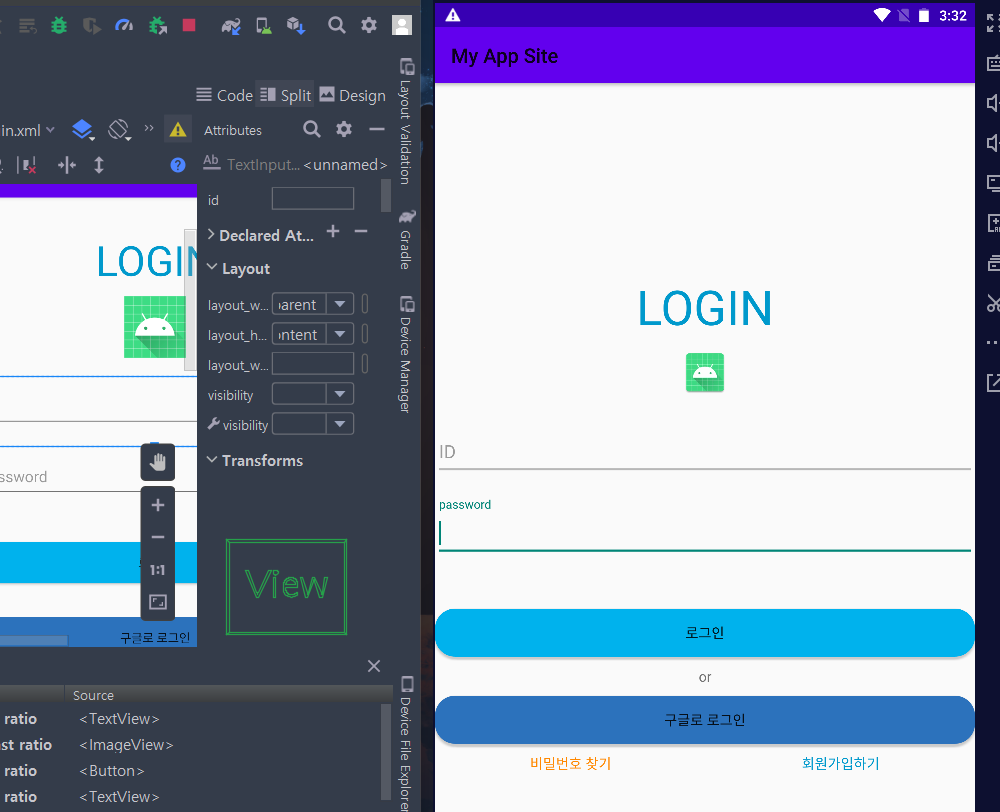
커서를 ID칸으로 오게 바꾸면? 역시나 hint가 위로 올라가네요
대박대박
쇠뿔도 단김에 빼랬다고 가장 상단의 LinearLayout에 paddingLeft와 paddingRight에 20dp씩 주고 답답한 느낌을 줄여보겠습니다.
    <LinearLayout
        android:layout_width="match_parent"
        android:layout_height="match_parent"
        android:orientation="vertical"
        android:gravity="center"
        android:paddingLeft="20dp"
        android:paddingRight="20dp"
        tools:layout_editor_absoluteX="0dp"
        tools:layout_editor_absoluteY="0dp">
그리고 ImageView에도 marginTop에 20dp를 줘서 Login 글자를 좀 더 위로 띄워 위치를 조정해보겠습니다.
<ImageView
            android:layout_width="match_parent"
            android:layout_height="wrap_content"
            android:layout_marginBottom="20dp"
            android:layout_marginTop="20dp"
            android:background="@null"
            android:gravity="center"
            android:src="@mipmap/ic_launcher" />
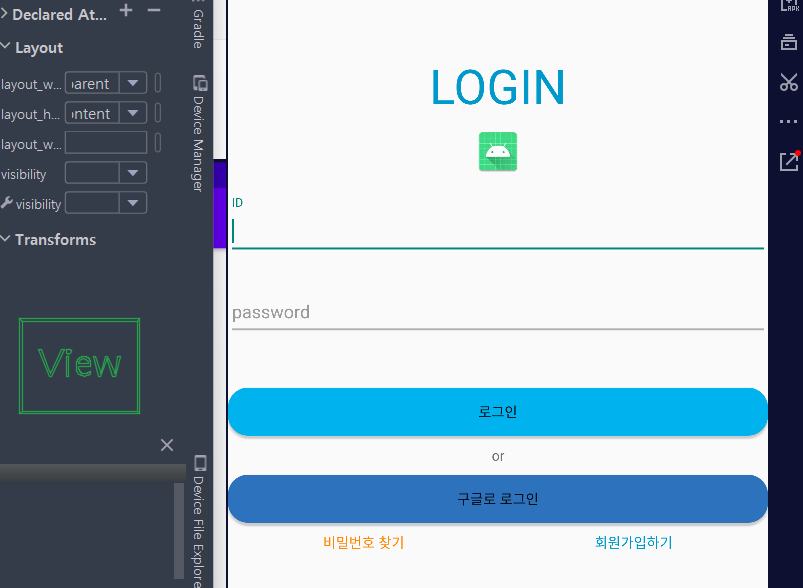
짜잔 ~
Full화면으로 보니 투박하지 않은 꽤 세련된 로그인 화면이 완성되었습니다.

이제 화면이 완성되었으니 다음 포스팅에서는 로그인을 하면 메인 화면으로 넘어가게 되는 기능을 구현해보겠습니다.
봐주셔서 감사합니다~
소스 참조
https://www.youtube.com/watch?v=LC6GsVXDGJ4
'개발 > 앱 개발' 카테고리의 다른 글
| [ Kotlin 앱 개발 ] 로그인 구현 #3 - Kotlin과 php, DB 연동 (0) | 2023.07.25 |
|---|---|
| [ Kotlin 앱 개발 ] 로그인 구현 #2 - 액티비티 값 넘기기 (0) | 2023.07.20 |
| [ Kotlin 앱 개발 ] TextView 글자를 kt 파일에서 바꿔보자 (0) | 2023.07.18 |
| [ Kotlin 앱 개발 ] ConstraintLayout 이용해보기 (0) | 2023.07.17 |
| [ Kotlin 앱 개발 ] 프로젝트 시작하기 - 안드로이드의 구조 (0) | 2023.07.11 |