이번엔 여태까지 만든 페이지에서 게시판을 구현해볼 것이다
우선, board.php를 만들어준다.
게시판에서 사용될 컬럼을 미리 만들어두었다
자동으로 증가하는 auto_increment 속성을 가진 number 컬럼
제목이 저장될 title 컬럼
내용이 저장될 content 컬럼
작성자의 닉네임이 저장될 name 컬럼
글 작성시간이 저장될 date 컬럼
조회수가 저장될 hit 컬럼
추천수가 저장될 thumbup 컬럼
그다음 비밀번호가 저장될 password 컬럼이다.
우선, board라는 이름의 테이블을 생성한다.
터미널을 열고 mysql 코드를 입력해주자.
CREATE table board (
number int not null auto_increment primary key,
title varchar(150) not null,
id varchar(20) not null,
password varchar(20) not null,
content text not null,
date datetime not null,
hit int not null default 0,
thumbup int not null default 0
);
테이블이 잘 생성되었다.
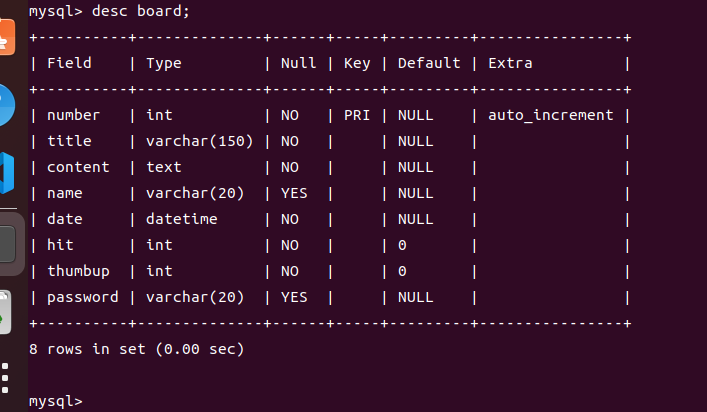
아직 들어있는 데이터가 없을 때 컬럼의 상태를 확인하고 싶다면
desc board; 를 입력하면 내림차순으로 현 테이블을 보여준다.
게시판을 만들기 위해 사용할 수 있는 태그는 바로 table 태그이다.
가상의 표처럼 칸을 나눠 게시판의 느낌을 낼 수 있다.
사용법은 다음과 같다.
table의 가장 첫 행에 thead 태그를 열고 항목들을 tr 태그와 th 태그로 감싸주면
칸을 만들고 각 칸에 해당 글자를 넣어준다.
<table class="table">
    <thead>
      <tr>
        <th width="70">번호</th>
        <th width="300">제목</th>
        <th width="130">글쓴이</th>
        <th width="100">작성일</th>
        <th width="50">조회수</th>
        <th width="50">추천수</th>
      </tr>
    </thead>
</table>
위 코드를 board.php에 추가한다.
밑 코드는 board.php 의 윗부분이다.
table 태그가 적용되어 있다.
board.php
<!doctype html>
<?php
session_start();

$con = mysqli_connect('localhost','root','1234','test');
$query = "SELECT * FROM board order by number desc limit 0,10";
?>

<head>
<meta charset="UTF-8">
<title>게시판</title>
</head>
<body>
<div id="board_area">
  <h1>자유게시판</h1>
  <h3>원하는 내용을 자유롭게 작성해주세요!</h3>
    <table class="table">
      <thead>
          <tr>
              <th width="70">번호</th>
                <th width="500">제목</th>
                <th width="120">글쓴이</th>
                <th width="100">작성일</th>
                <th width="100">추천수</th>
                <th width="100">조회수</th>
            </tr>
        </thead>
       ...
       이하생략
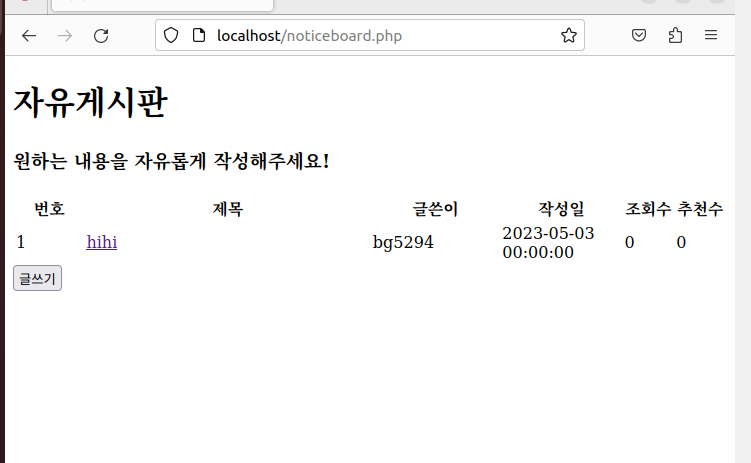
css없이 html 코드로 기본적인 게시판이 완성되었다.
글쓰기 버튼은 이하생략된 부분에 써있다.
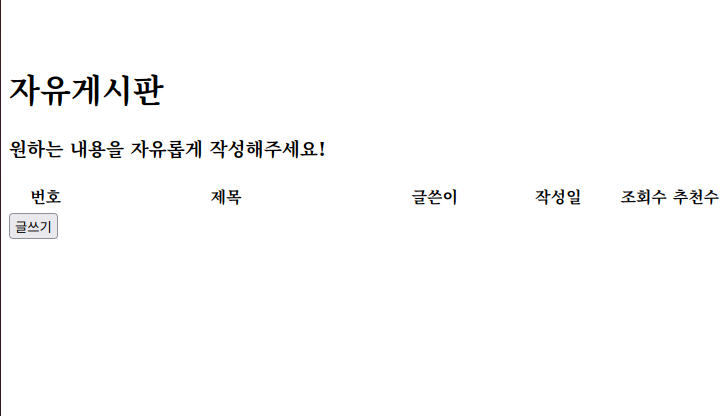
mysql 연결 코드가 있지만 DB에 들어있는 내용이 없어서 아무 결과도 출력되지 않는 걸 볼 수 있다.
아직 쓰기 기능을 구현하지 않았으므로
INSERT INTO `board` (`name`,`password`,`title`,`content`,`date`,`hit`)
VALUES ('bg5294','1111','hihi','hihiihi','2023-05-03','0');
테스트용 정보를 한번 입력해보자
values 이전의 특수문자는 ` 로 작음 따옴표가 아니라 키보드 상 tab 위에 있는 키를 눌러야 한다.
그리고 컬럼의 이름과 타입만 맞춰주면 순서는 뒤섞여도 상관없이 잘 생성된다.

새로고침 해봤더니 제목은 잘 뜨는데 나머지 정보가 안뜬다..
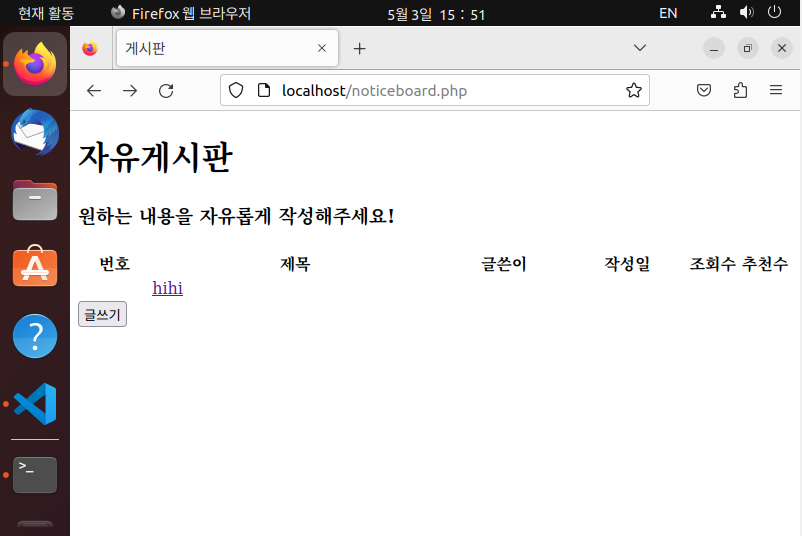
코드를 살펴보니 $title = $board['title'] 라고 미리 변수를 설정한 부분만 뜨고 나머지가 안뜨는 것으로 판단해
$number = $board['number'] 로 숫자라 뜨는 지 살펴보았다.
잘 뜬다!!

나머지 변수도 미리 설정해준다.

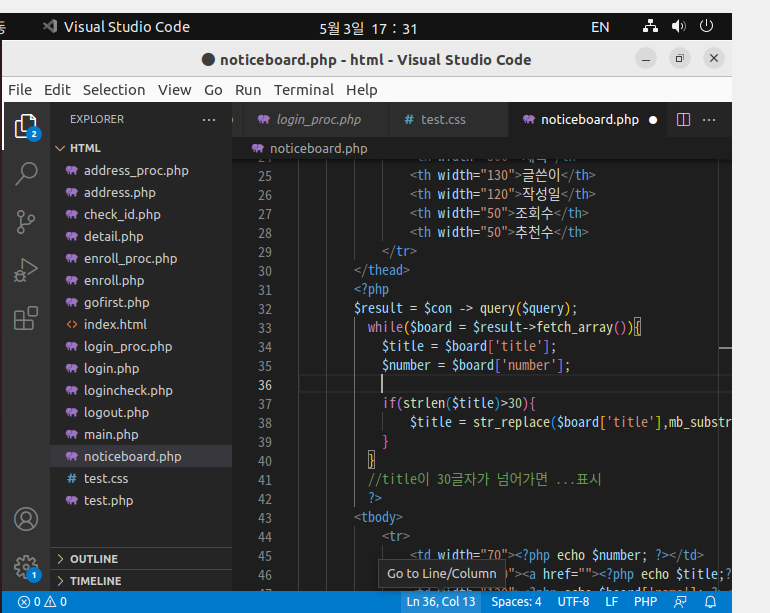
밑 코드는 위에서 이하생략되었던 board.php의 thead 아래부분이다.
tbody 부터 MySQL 에 저장되어있는 정보를 불러내 보여준다.
board.php
 <?php
        // board테이블에서 idx를 기준으로 내림차순해서 10개까지 표시
          $result = $con ->query($query);
            while($board = $sql->fetch_array())
            {
              //title변수에 DB에서 가져온 title을 선택

              $title=$board["title"];
              $number = $board["number"];
              $name = $board["name"];
              $date = $board["date"];
              $hit = $board["hit"];
              $thumbup = $board["thumbup"];

              if(strlen($title)>30)
              {
                //title이 30을 넘어서면 ...표시
                $title=str_replace($board["title"],mb_substr($board["title"],0,30,"utf-8")."...",$board["title"]);
              }
        ?>
      <tbody>
        <tr>
          <td width="70"><?php echo $number; ?></td>
          <td width="500"><a href=""><?php echo $title;?></a></td>
          <td width="120"><?php echo $name; ?></td>
          <td width="100"><?php echo $date; ?></td>
          <td width="100"><?php echo $hit; ?></td>
          <td width="100"><?php echo $thumbup; ?></td>
        </tr>
      </tbody>
    </table>
    <div id="write_btn">
      <a href="./write.php"><button>글쓰기</button></a>
    </div>
  </div>
</body>
</html>
입력한 정보가 잘 뜨는 것을 볼 수 있다.
소스 참조
'개발 > 웹 개발' 카테고리의 다른 글
| [5주차] 게시판 구현 #2 - 게시글 읽기, 게시글 쓰기 (0) | 2023.05.03 |
|---|---|
| 손 쉽게 웹페이지 꾸미는 법 #2 - 그리드 시스템 BootStrap (0) | 2023.05.01 |
| 손 쉽게 웹페이지 꾸미는 법 #1 - Bootstrap 적용하는 법, 버튼 디자인 (0) | 2023.04.29 |
| [3주차] 회원가입 페이지 구현 #2 - 아이디 중복 체크 (0) | 2023.04.22 |
| [4주차] 회원가입 페이지 구현 #1 - 주소 검색 기능 만들기 (3) | 2023.04.21 |